

This is my Grip bag with the speaker-bag snapped on.
This is the the speaker-bag attachment I built for my Grip EQ bag. At some point early last year, I came across this Youtube video of a custom made expansion pack for a Grip EQ bag. It is impressively built- so much so that I wouldn’t even dream of attempting to build it. However, it acted as a great catalyst to get my gears turning on how I could spruce up my own bag. Fast forward to this winter, I was doing some google searches to find out which set of portable speakers was the best in sound quality. In reality, I was thinking of using it for travel, not disc golf. The Altec Lansing portable speaker seemed to be at or near the top of everyone’s reviews, so I zeroed in on the most cost effective model. Long story short, I saw a picture of the Altec mounted through an Army backpack, and decided to combine all the ideas into one and make a portable, true-stereo, disc golf speaker-bag. Here’s a video clip of me playing a song-
To date, I’ve only built 2 sets, so I haven’t streamlined the process. I have, however, used my personal set (the prototype) for over 2 months out on the course. The sound quality is great, the versatility is great, and the durability is surprising. The speakers themselves aren’t made for rough conditions, so I’m assuming I will replace at least one speaker per year either due to the “Made in China” quality, or mishaps of traveling and hitting the actual unit. Each speaker is only 19.99 with free shipping on Amazon.com, so I don’t mind if they do break.
In regards to selling them, I plan on building one set after each set is completed. So I will have them available, one at a time, to anyone who’d like a set. The cost of materials alone is well over $65.00 dollars, and I’m selling them for $105 per pair. If you’re interested, you can send a message through the “submit” tab on the DGSquared header, and we can connect. But for the DIY’er, I’m posting a bunch of pictures and tips.
Here’s the thing: if you’re the type of person who can build stuff- you can probably just build one based on a single picture! But then again, maybe you can read through this, and improve the design- or modify it for your own bag.
The material I used is as follows (I’m including an Amazon.com link for materials, although some are available at local stores):
-2 Altec Lansing Portable Speakers- iMT-227– $19.95/each
–Eagle Creek- Half Tube Cube– $10.50/each
–Right Angle 3.5mm Cable– $6.95/each
–HOSA Stereo R/L Splitter– $4.99/each
-Contact Cement- $4.00/bottle (no link, it’s rubber cement guys)
-Foam remnants- $0.00-$8.00 depending on where you get it
–Line 24 Snaps (with setting tool #1-and setting tool #2)- $10.27 plus shipping
-An empty jug of windshield washer fluid- $0.00 at any gas station garbage
So actually, with the line-24 snap set and contact cement, this puts the materials total up over $80! Yikes… anyway, for the material on the side straps, I didn’t list a specific type because I had some nylon strap that was already purchased. You can even cut off the existing handle from the Eagle Creek bag and use it, but you wouldn’t have any extra, and this would make any mistakes irreversible. I did a test-run for each step since I didn’t have much experience working with this material (I’m a locksmith by trade, not a bag builder!).

Here are the Supplies Needed
1.)Get supplies together

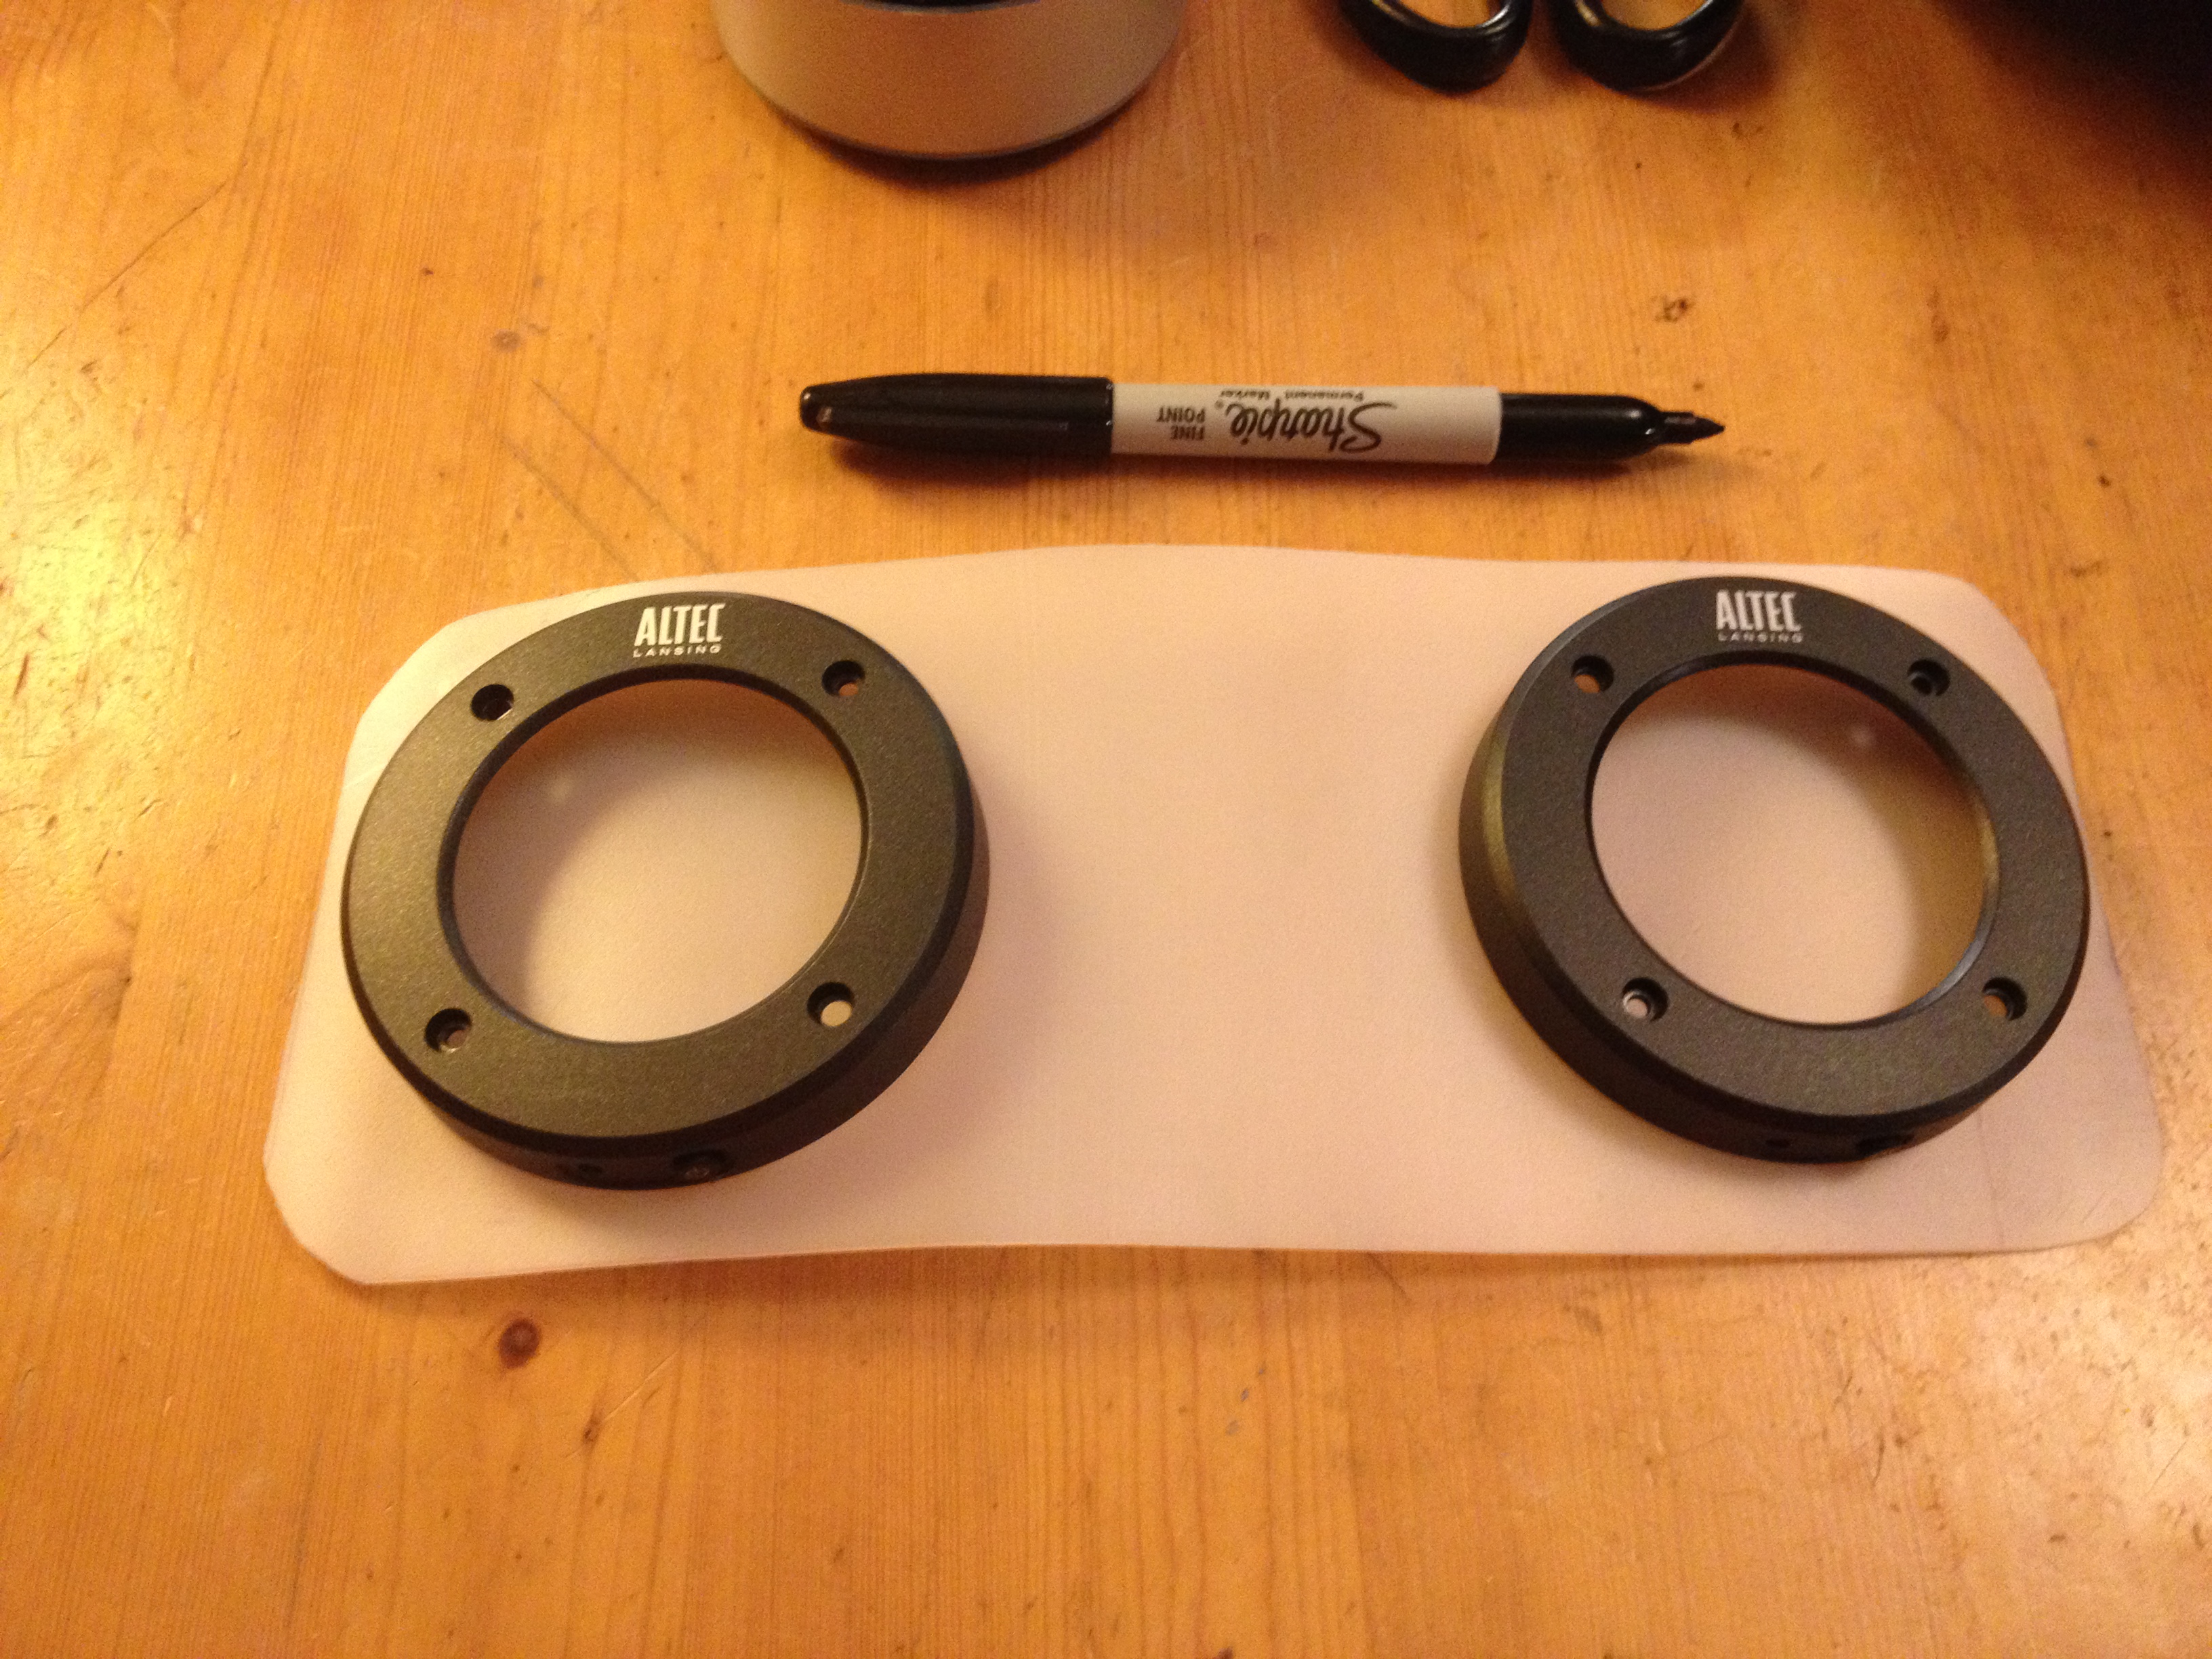
Taking the speakers apart
2.)Disassemble the speakers. I use a small alan wrench, I think 5/64” inches, to remove all the screws and put them aside somewhere safe. The top piece comes right off- being careful to tip the piece towards the switch and then lift out. The center piece of gray plastic is not used when you reassemble the unit, but it IS used for tracing some of the circles for cutting.

Jug inside bag; a dry fit.
3.)Prepare the windshield wiper jug for the bag. You need to cut yourself a big piece that will serve as a stiff, durable mounting surface that sits behind the fabric of the bag. I made a rough guess at first, and then trimmed it down to size to fit SNUG inside the back of the bag. It was SNUG enough that it actually nestled behind the seams and stayed in place. Later on, I glued it in place, but not until I traced and cut out the circles.
Here is the intended speaker layout.
4.)Make your speaker layout on the plastic. I first found a good position which leaves enough room in the middle of the bag for a full sized iPhone or iPod. Trace the top piece of the speaker removed earlier. Then trace the INSIDE of the gray piece of the speaker placed in the exact center of the other line. This gives you the “danger zone” layed out while you cut.
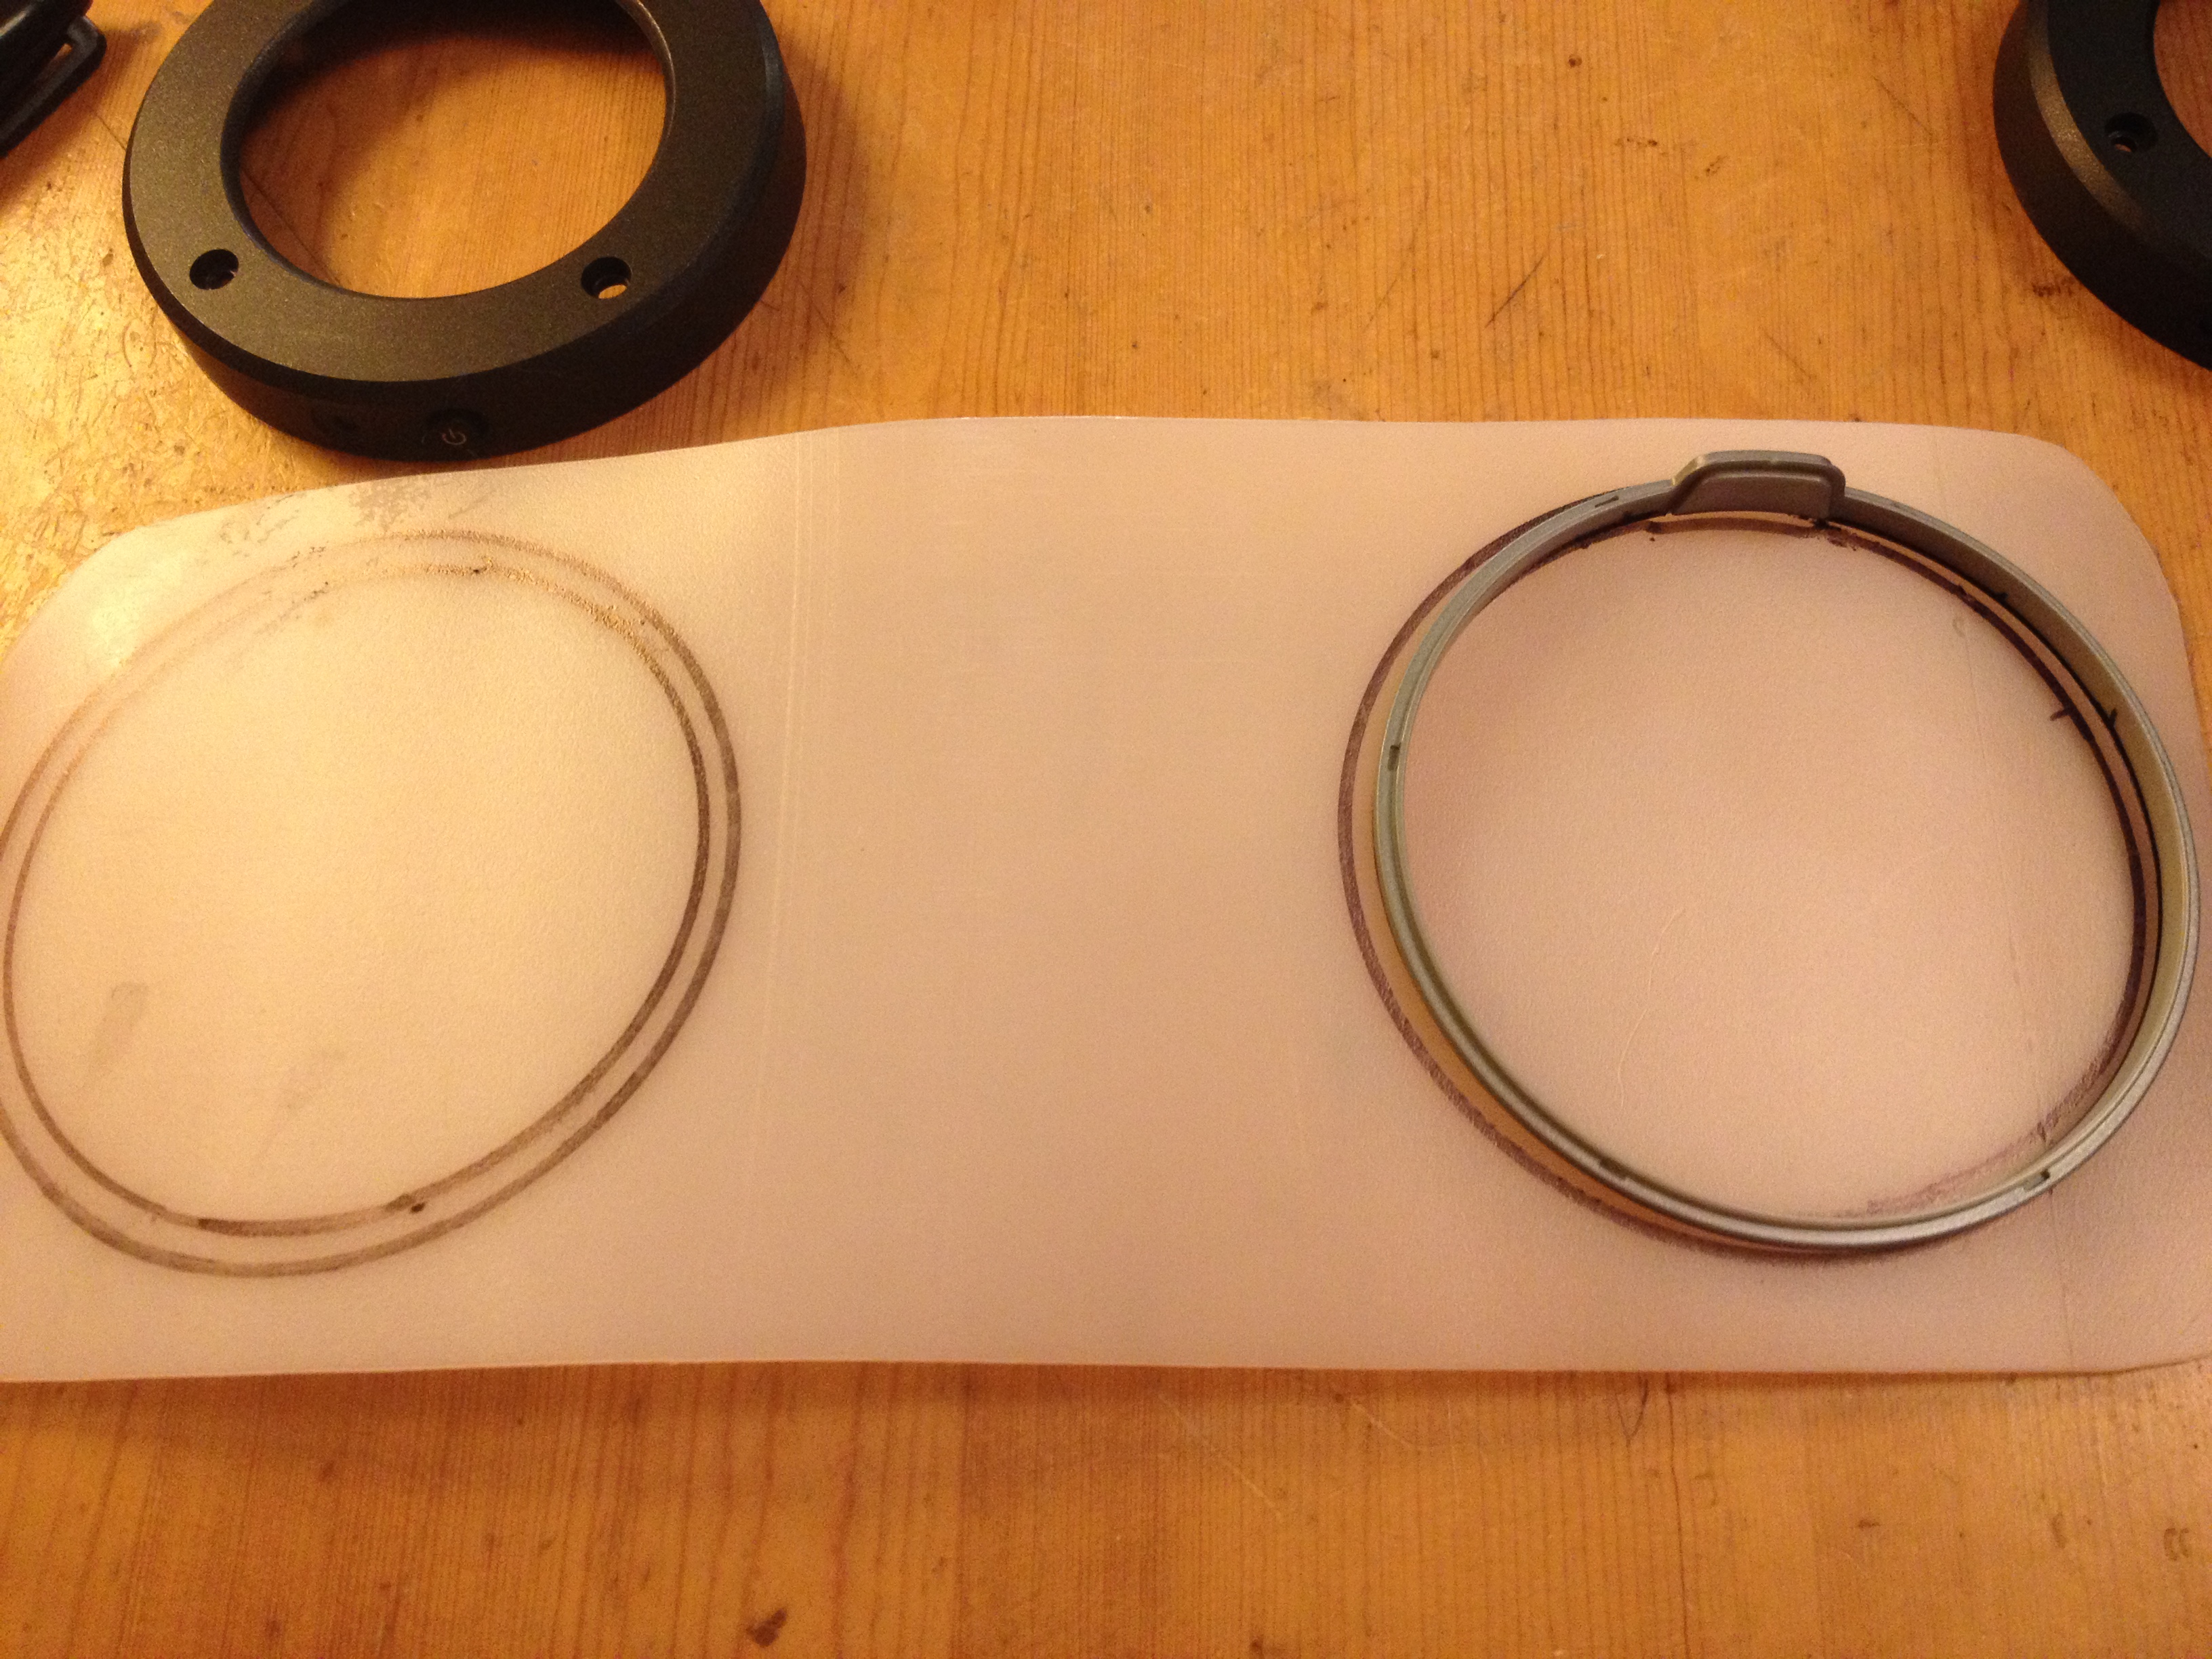
Inside tracing of gray piece
If you cut too large, the whole speaker will fit through the hole (NOT GOOD), but if you cut too small the speaker won’t fit in at all. I use a pair of heavy duty scissors and “take the inside line.” For the non-carpenter types, this means your cut removes the inner line, but you don’t cut any material beyond it. Test a speaker to make sure it fits.

Make sure the speaker fits exactly inside the hole

Use the plastic piece as a guide to trace lines onto the bag
5.)Place the plastic inside the bag and trace the circles inside. Again, cut the circles, but this time, I like to cut ON the line. This leaves part of the line in the bag, and the other part on the patch that I cut out.
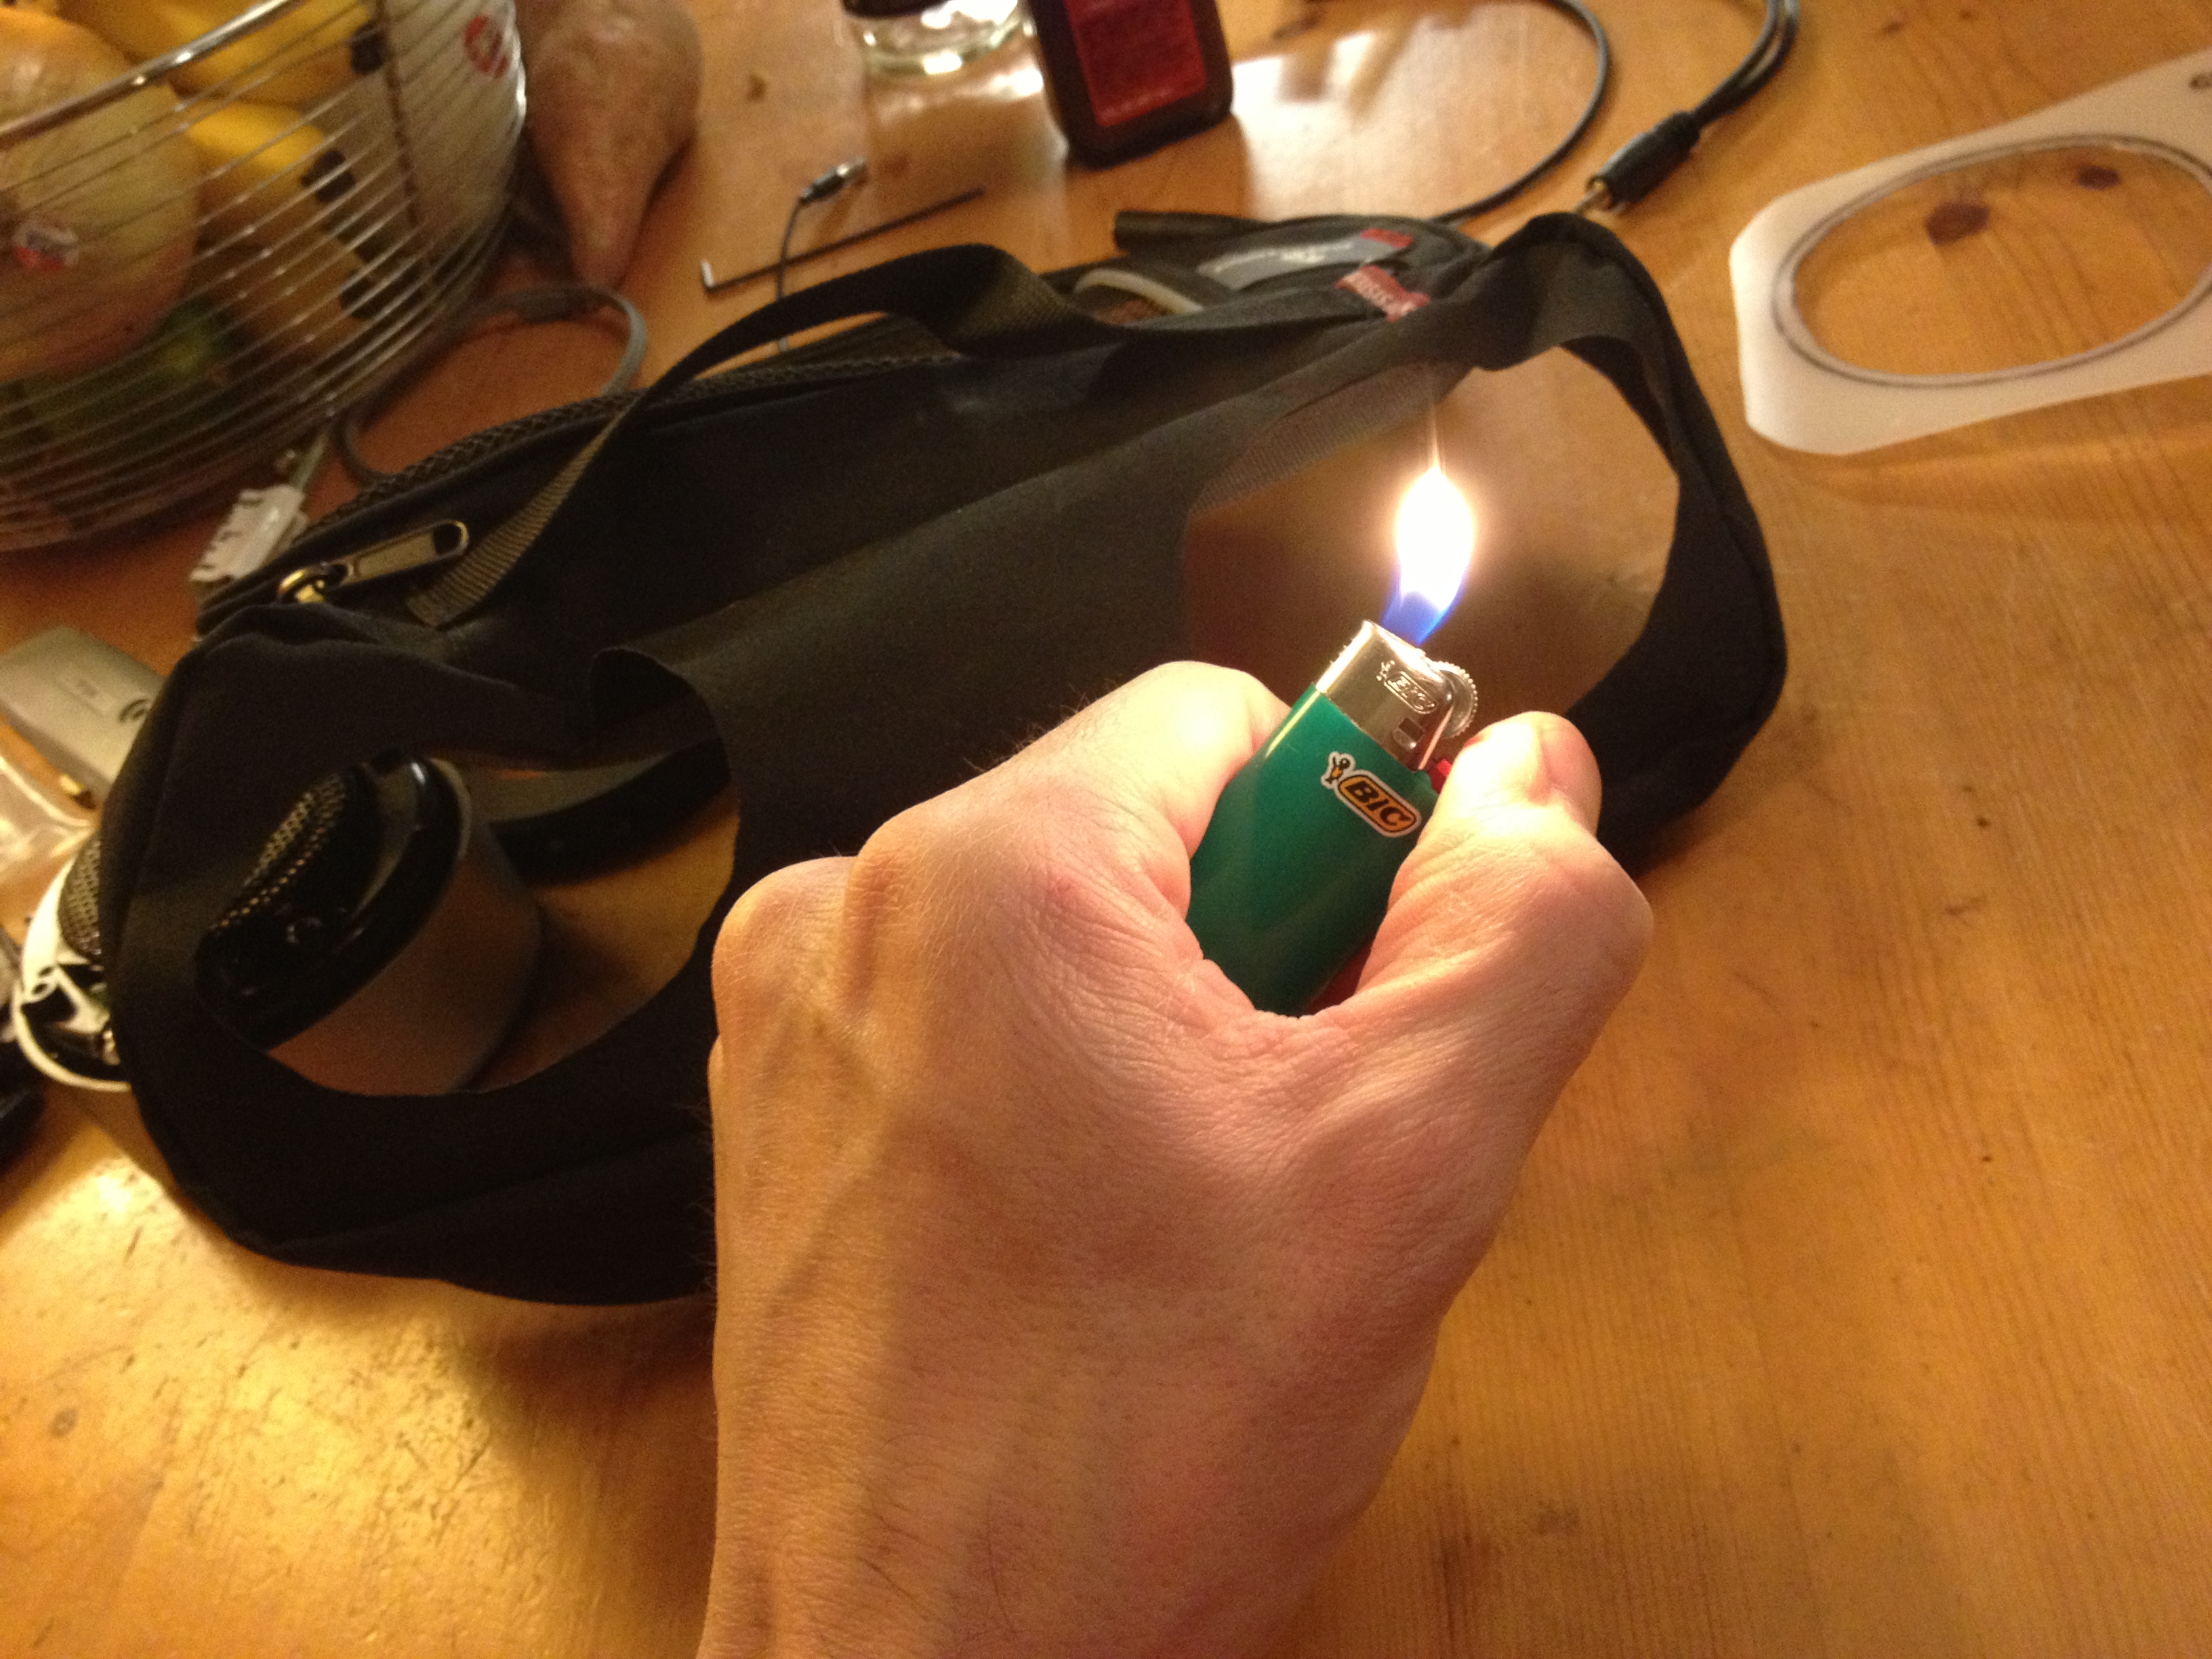
Use a lighter to burn/melt any frayed edges and seal it together
I then use a lighter and quickly burn/melt the edges of the fabric to seal in the cut. (IF YOU HOLD A FLAME TO IT LONG ENOUGH- IT WILL IGNITE ON FIRE, SO BE QUICK AND SMART).
6.)Glue the plastic to the fabric inside the bag. I do several dry fits before this point to make sure everything is lined up, and I have plastic positioned correctly. If you accidentally flip the plastic over, or turn the bag around- your fit will be off since it was cut by hand. MAKE SURE YOU HAVE IT POSITIONED RIGHT BEFORE YOU GLUE!
7.)A note on contact cement- it’s not glue, it’s “contact cement.” You’re supposed to apply it to the plastic and then apply it to the fabric. Then you’re supposed to WAIT for 15 minutes while each side dries. After it dries, you can put them together- but you will only get one shot. Once it’s positioned, push the two pieces together firmly to work out any air bubbles.
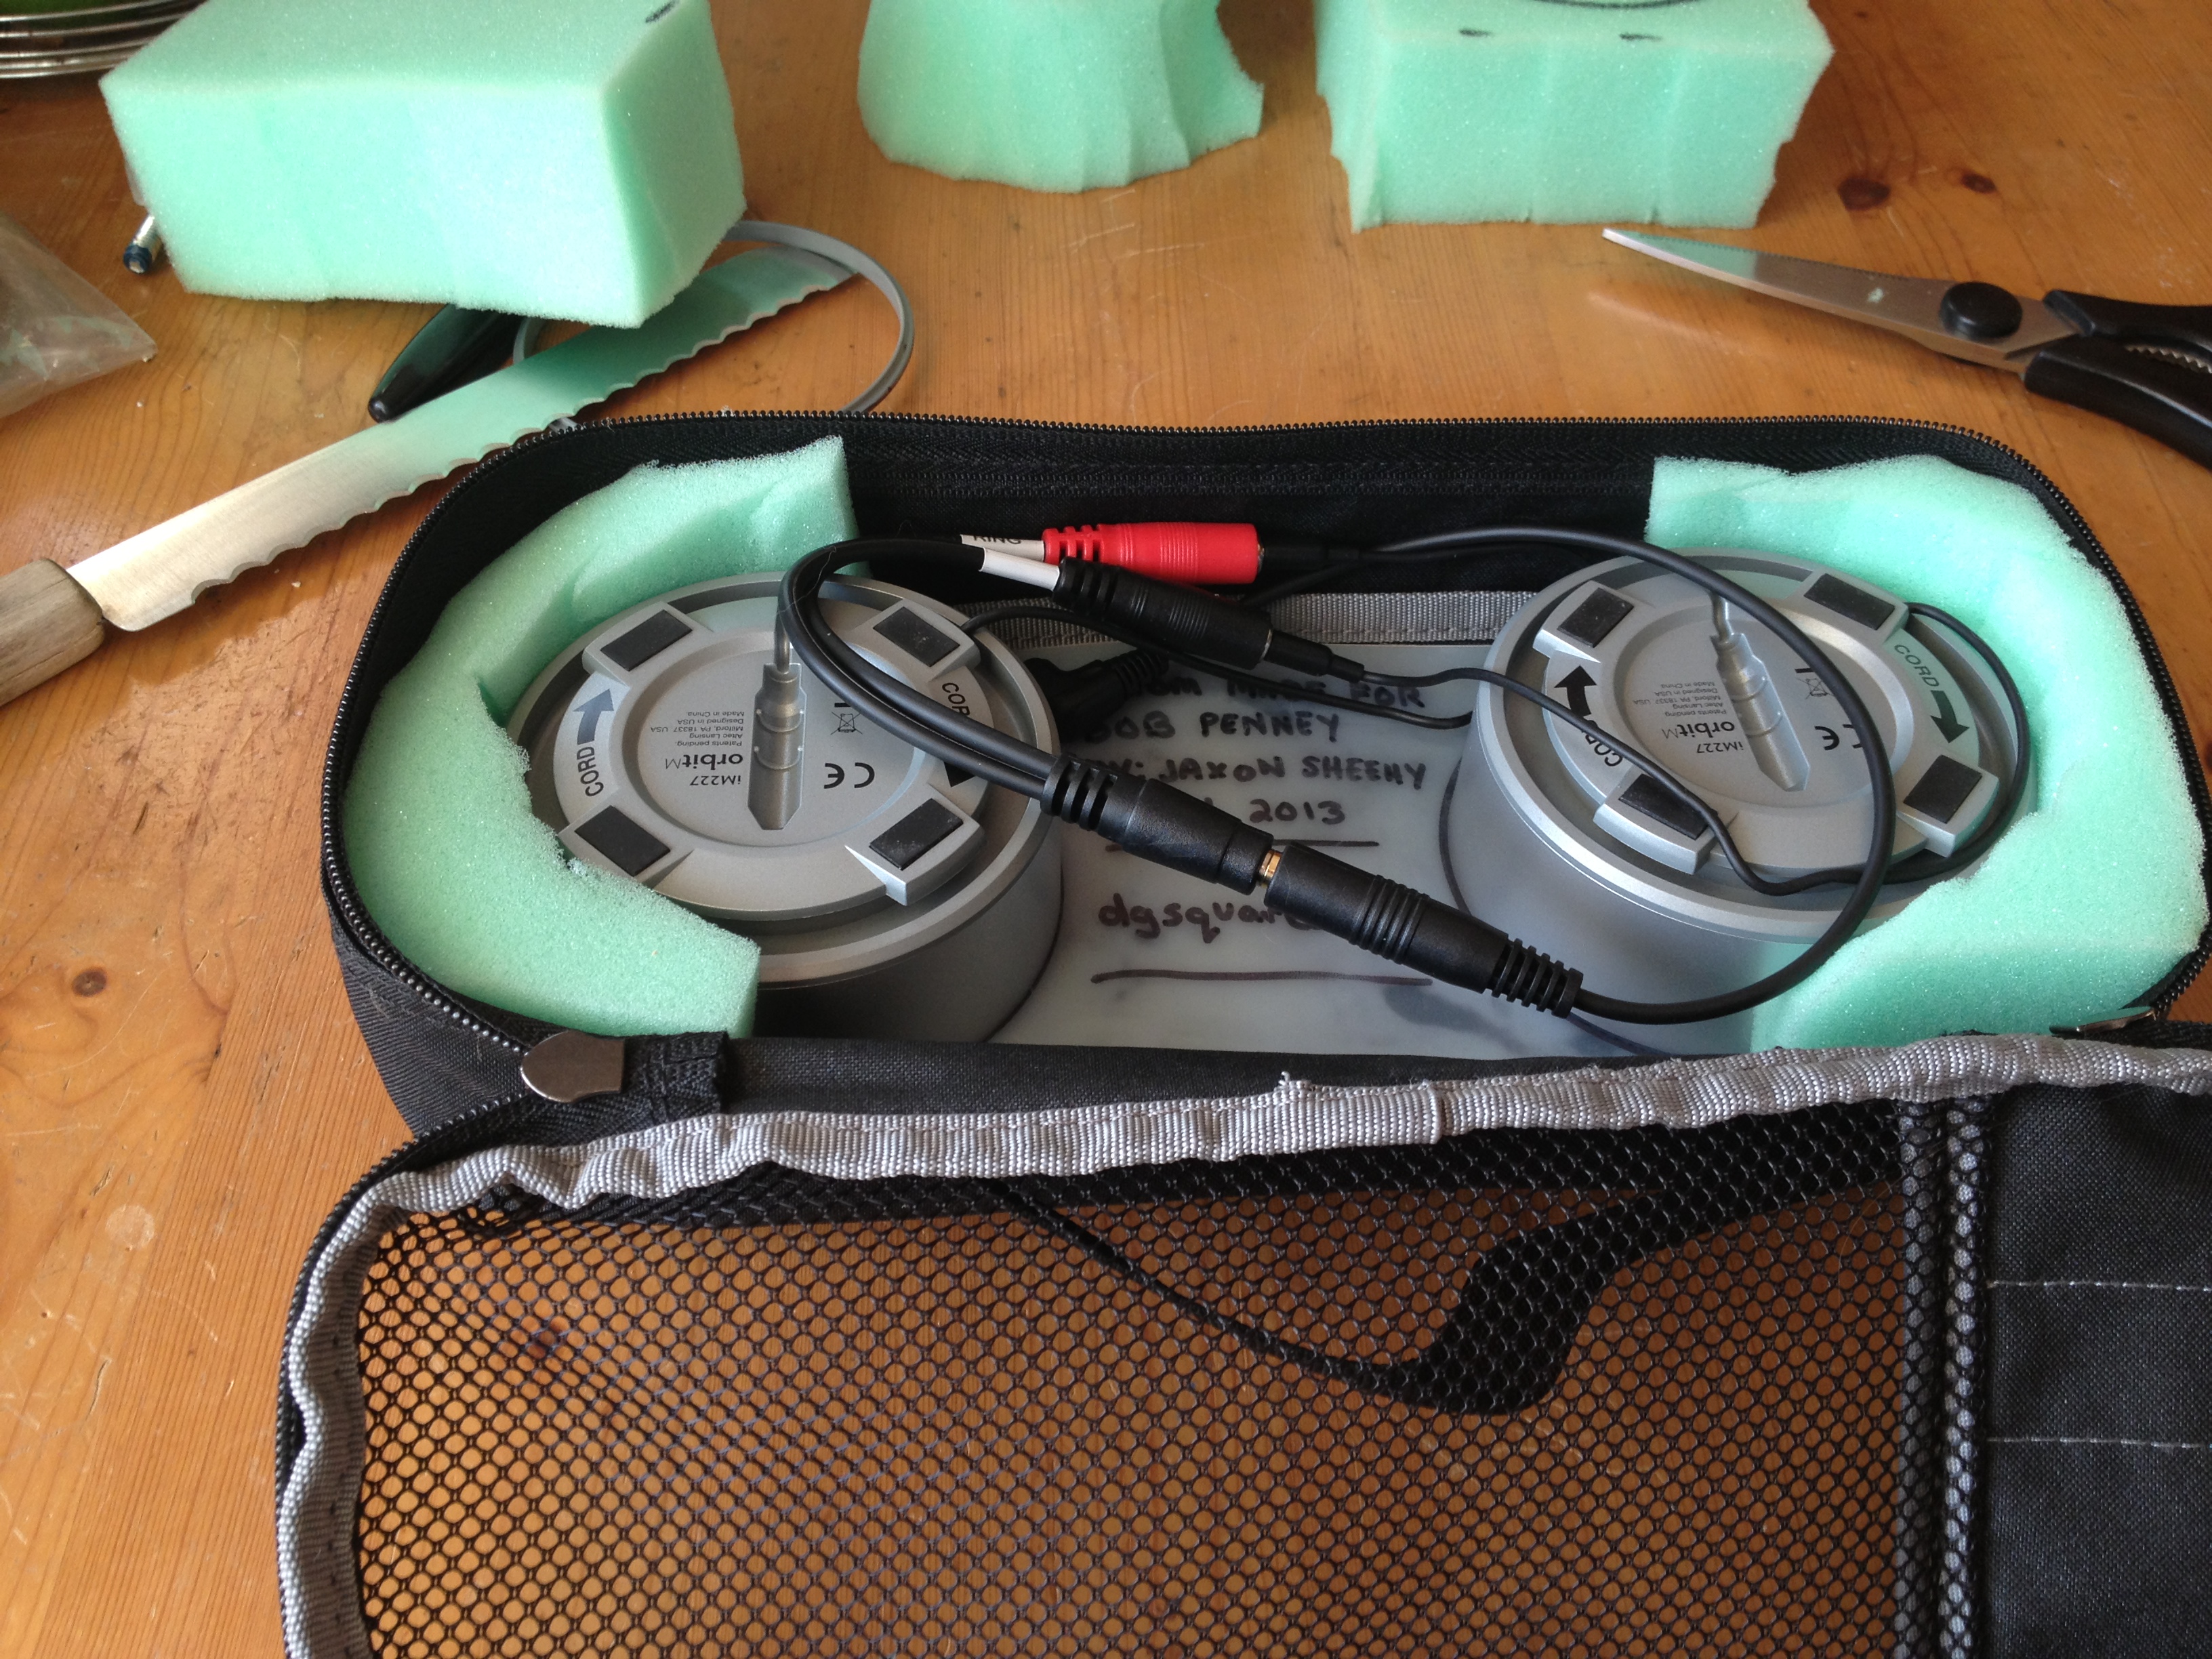
Assemble speakers and use some foam re-enforcement
8.)Reassemble the speakers into the bag and cut some foam support pieces. I have found that the more foam you put in, the more difficult it is to cut perfect. This is definitely the part of the project that I haven’t fully figured out yet.

I like to twisty-tie the cables to keep them from getting bent.
9.)Plug in all the wires accordingly. I also prefer to use a twisty-tie to bind some of the connectors together. This will prevent the cheaper wires that come from the speakers from bending at a harsh angle and breaking prematurely. This brings up another point- the splitter that I recommend is something that will give you “true stereo.” If you don’t care about the audiophile type aspect of true-stereo, you can save about 4 dollars by buying a headphone splitter from monoprice.com.
There are a few things that I imagine other folks would do differently. I positioned the bag with the existing handle facing down instead of up. This is because when it’s hanging on the bag, the zipper portion remains on the top and gives better access. If you did the opposite, you could incorporate the existing handle into the mounting straps, but your zipper access would be on the bottom.
I’m also not going to go into detail about the mounting straps, or the snap-buttons. There’s already a Youtube video on this, and the old guy seems like he could be our collective grandpa. What better teacher could you have then our very own grandpa? To make the straps, I just cut sections of strap, burned the frayed edges with a lighter, folded the ends over- poked a hole with an awl and installed the snap-buttons. These snaps work with the existing Grip EQ rain-fly snaps perfectly.
That’s pretty much it. The final product really has me excited to play disc golf. I’ve been known to put speakers in/on everything I own, and now disc golf has become one of those things. These particular speakers aren’t going to out perform an enormous boom-box, or pump out bass to make your car doors rattle. But in all reality, if I put the volume up to just below maximum- it’s way too loud to wear the bag on my shoulders. It’s not something that will get the neighbors complaining, but in the few times I had it up that loud- I didn’t enjoy having them right next to my head! They’re loud! In comparing them to all the other speakers that my friends carry for their own bags, this set is far and away the best sounding. The only real criticism I have at this point is not being able to control the songs or volume without opening the bag assembly. I have toyed with the idea of getting a bluetooth headphone adapter, which would allow me to play songs from my iPhone while still in my pocket- but I don’t know how I would control the volume yet (I’m not familiar with any models, but I may start shopping around!). The other easy solution to this would be mounting the iPhone or iPod to the exterior of the speaker box. This could be done pretty easily with a cheap leather case from Amazon.com, but the mounting might look messy if not done properly. I haven’t really explored this option yet either.
So that’s it folks. This may not be the most exciting explanation of a piece of equipment you’ve ever read… but out of all the things I’ve carried around on the DG course, this one has brought the most attention and positive reaction. Music is the universal language after all! The worst thing about this speaker-bag is trying to decide what to listen to… shall I subject my fellow DG players to a mix of sappy singer songwriter acoustic tunes, or should I just play Damien Marley? They both sound great on these things!

You must be logged in to post a comment.